DocsExample scenesColour and light
Example scene · Colour and light
Rain on Glass
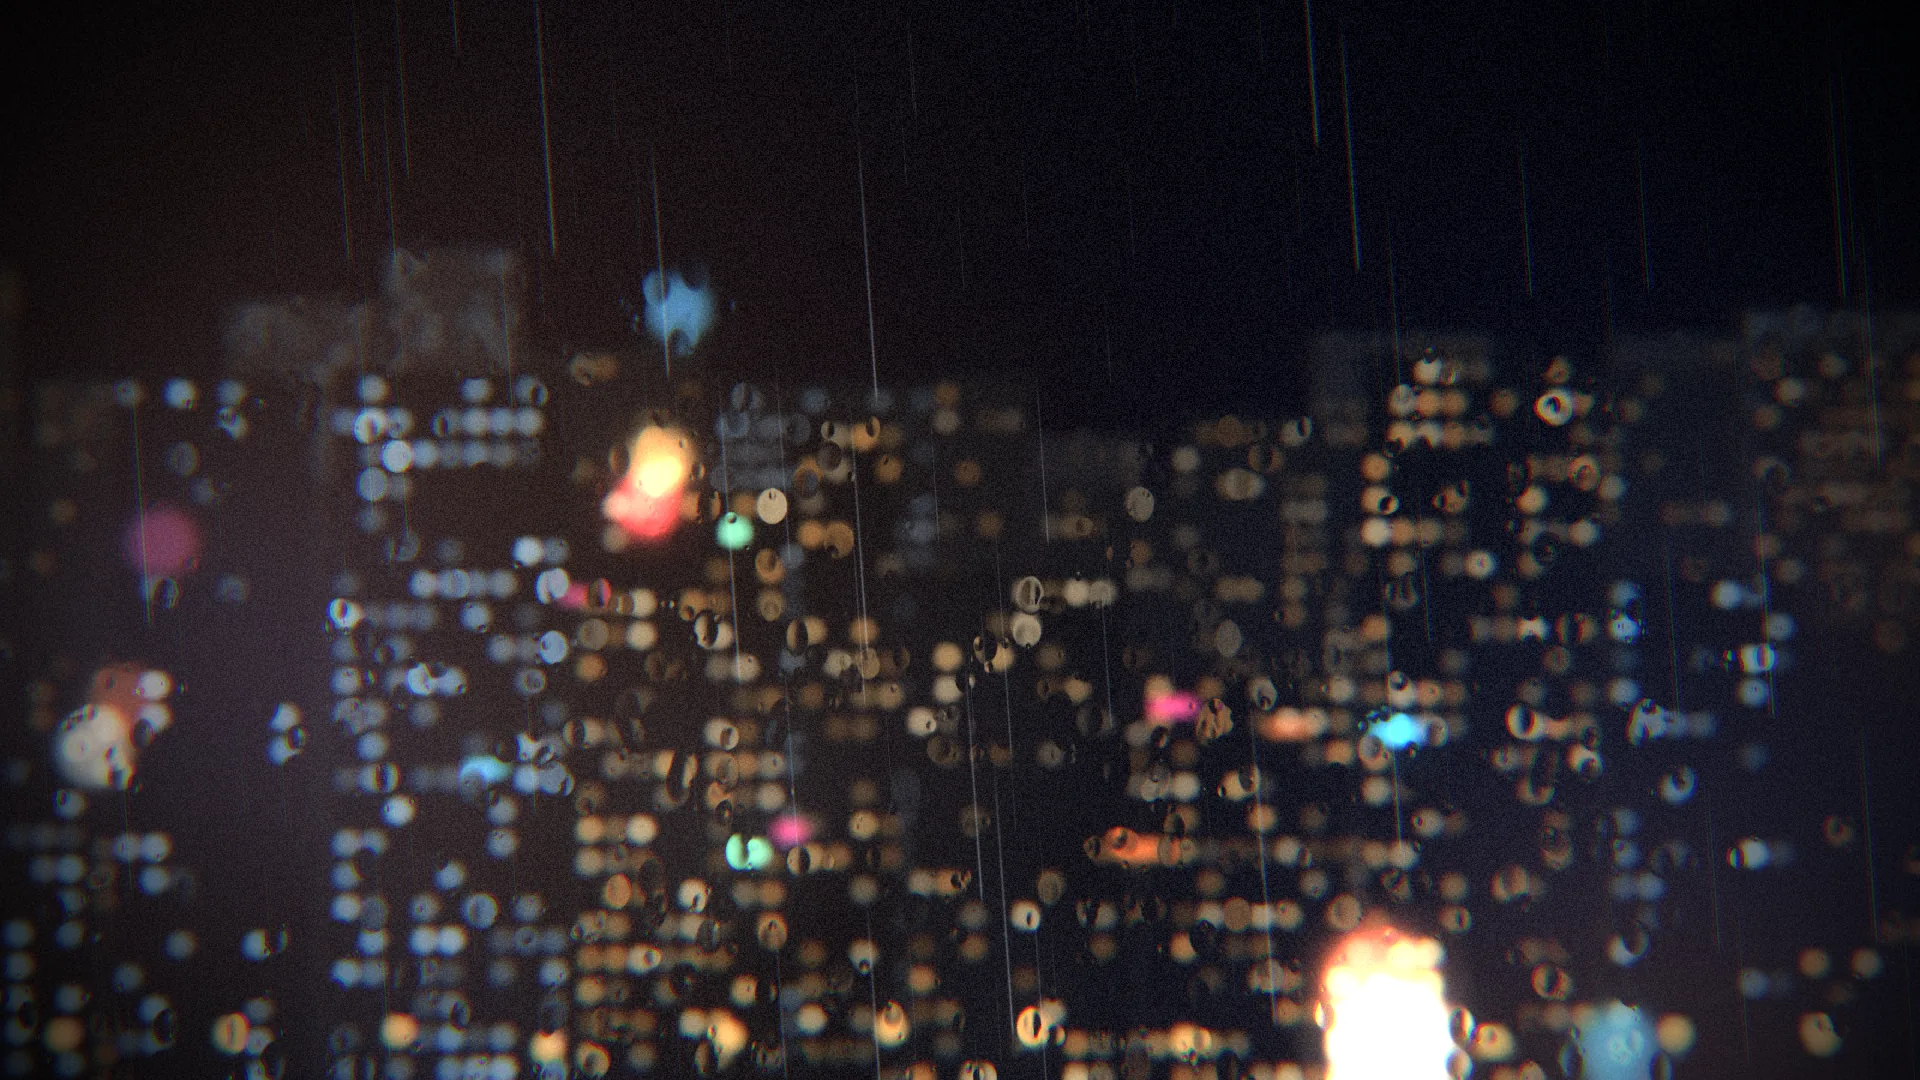
A city's lights at night, soft and swimming behind a window running with rain. Dark, cool blue with warm amber, and quiet: the kind of evening you watch from inside.
Main feature: Effects and masks: the effects stack and adjustment layers. Also uses: Layers and folders, The inspector (the scene's bloom).
What you'll learn
- How far a stack of effects takes a few plain layers. Underneath, there's nothing clever: it's the stack that makes it a rainy window.
- How an adjustment layer works: it has no picture of its own, and its effects apply to everything under it.
- Why the order matters: blur before the drops and the drops bend an already blurred city, which is what your eye sees through a real window. Swap them and the drops go soft too.
How it's built
The layers, bottom to top: Night, City, Street glow, Street lights, Signs, Traffic, Through the glass, Rain on the glass, Grade.
- Night is a Gradient, and City a Picture or video: a small picture of a city with lit windows.
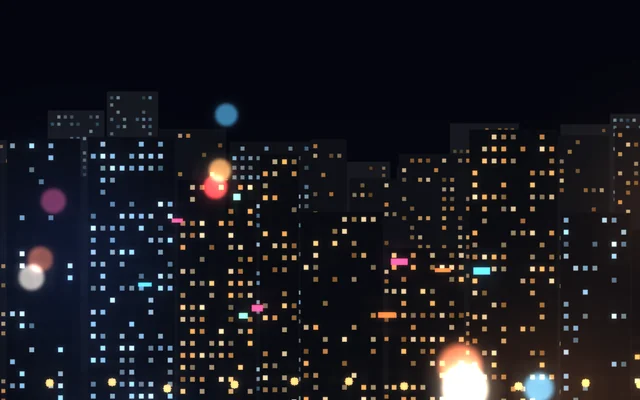
- Street glow, Street lights, Signs and Traffic are Glow orbs, for street lights, signs and traffic.
- Through the glass, an Adjustment layer over the city and its lights, has four effects. Gaussian blur, a little, rounds off the windows' hard edges, so the next blur makes smooth discs of them. Lens blur is out of focus as a camera is, so each bright window becomes a disc of light. Displace by picture, with
drops.png, makes beads of water on the glass: the picture's red and green push what's behind left and right, up and down, so each drop is a tiny lens, and it scrolls slowly, so they slide. Glow makes the bright parts bleed light, as they do through wet glass. - Rain on the glass, a Rain layer, which the glass effects don't touch because it's above them.
- Grade, a second Adjustment layer, over everything: Colour split pulls red and blue apart a few pixels, as a cheap lens does; Light leak adds a faint warm and cold wash drifting at the edges; then Film grain, and a Vignette, darker towards the corners. Pick Scene at the top: its Bloom adds the last of it.
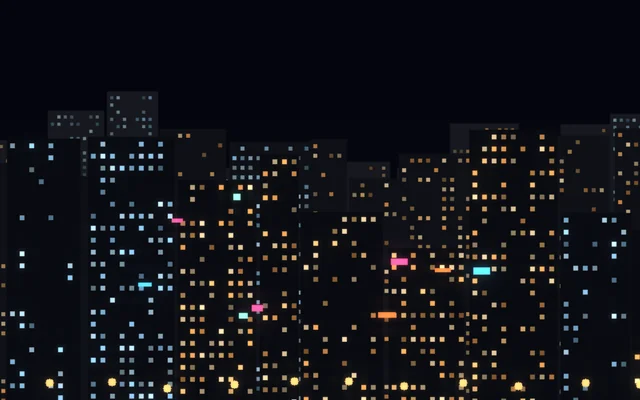
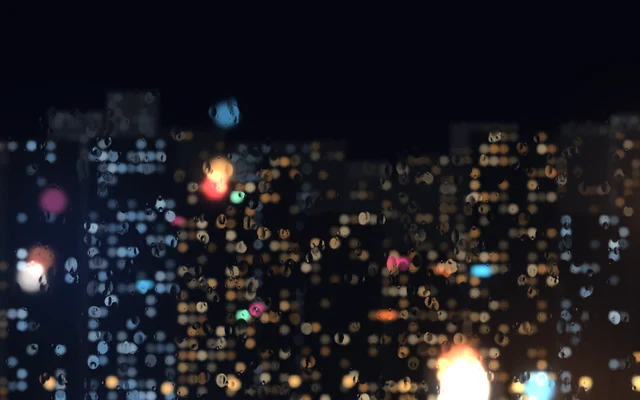
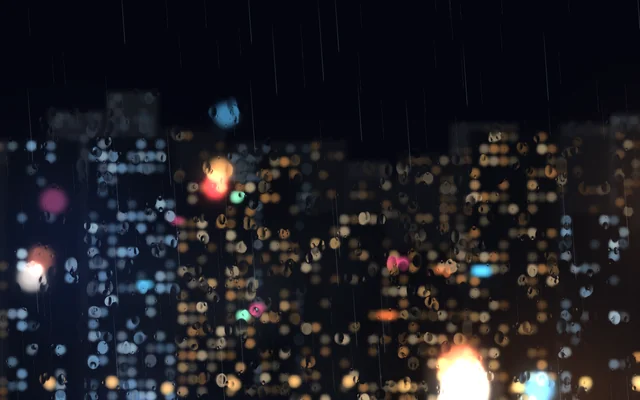
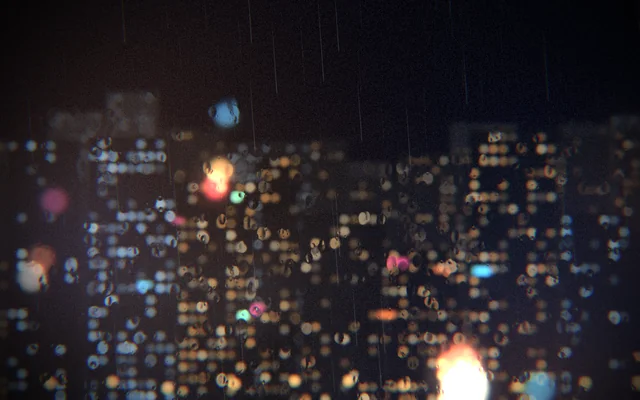
city.png and drops.png are in the scene's Assets panel (Alt+3). The city is a small picture, since the blur takes away its detail anyway. drops.png is what bends the light: in each drop, red pushes what's behind left and right, and green up and down.
Blurs are the heaviest effects there are, so keep the radius moderate on a laptop.
Look in Studio
Open it from Studio's start page, under Start from one of Motion's. Pick Through the glass and open its Effects tab, then switch each effect off and on in turn to see what it adds. Hide Through the glass altogether to see the city as it really is: a small, sharp, rather plain picture.
Make it yours
- Put your own photograph in place of
city.png: drag it into Assets, pick City and choose it under File. Any night picture with lights in it works. - Raise Lens blur's radius for a closer window and a farther city.
- Change Light leak's colours to pinks for a neon night.
- Take the Rain on the glass layer out and set Displace by picture's scroll to 0 for a window after the rain has stopped.
Settings people can change
| Setting | What it does |
|---|---|
| Rain | How much rain runs down the glass |
| Street lights | The colour of the warm lights |
| Signs | The colour of the signs |
| Traffic | How much the traffic lights move about |
| Bloom | How much the bright parts bloom |